Google Play Store is the most used application to download all the other mobile applications and software. As the Android market is enormous and all companies want their business to stay on users’ phones, where people spend more than 3 hours a day, it is necessary to learn the basics of uploading an Android app to the Google Play Store.
Generally, an android app development company can help you not just create but also upload the product to Google Play Store. However, if you are someone who likes more control or wants to learn how to upload applications on the domain, you have come to the right place.
Currently, there are over 3.48 million applications on Google Play Store. Moreover, daily, the number of apps uploaded on the platform is 3739.
This post will cover the step-by-step process of uploading a mobile application to the Google Play Store for the world to download and use.
How Does an Android App Development Company Upload App to Google Play Store?
The post carries a step-by-step guide on how to submit a mobile application on Google Play Store. You can get an Android App development company to do the job. Or you can follow the exact steps in chronological order to publish your app on the device.
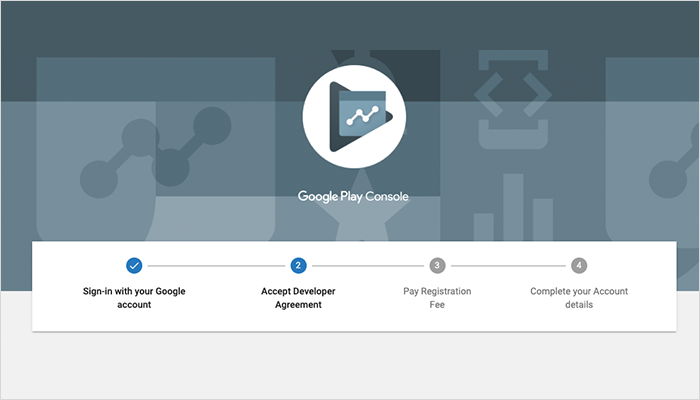
The first step of how to submit a app to the app store is to go to the developer dashboard to upload an Android play store app. The Google Play console is the backend controlling center developers use to submit applications on Android.
If you are wondering how much does it cost to publish an app on play store, then here is what you must know. You must pay a $25 one-time fee to access Google Play Console. Then, you can use the various features and functions loaded on the platform. It is a one-time fee, and you will not need to pay anything more to submit a mobile application to the Google Play Store.
However, creating an account is tedious as they will need all your credentials to create an account. It includes information like your name, country, etc. Moreover, submitting the details can take up to two days before the account is approved.
2. Linking Developer Account & Google Wallet Merchant Account

Skip this step if your application does not have in-app purchases. However, you need to connect to a merchant account for applications with in-app purchases.
To create a merchant account, follow these steps:
- Sign in with a Google Play Console account.
- Find and click on 'Reports.'
- Find and click on 'Financial Reports.'
- Opt for the 'Set up a merchant account now' option.
- Fill out the details.
Once the process is complete, the merchant account will link automatically with the Google Play Console account. Then, you can use the account to manage and examine in-app sales.
3. Create Application
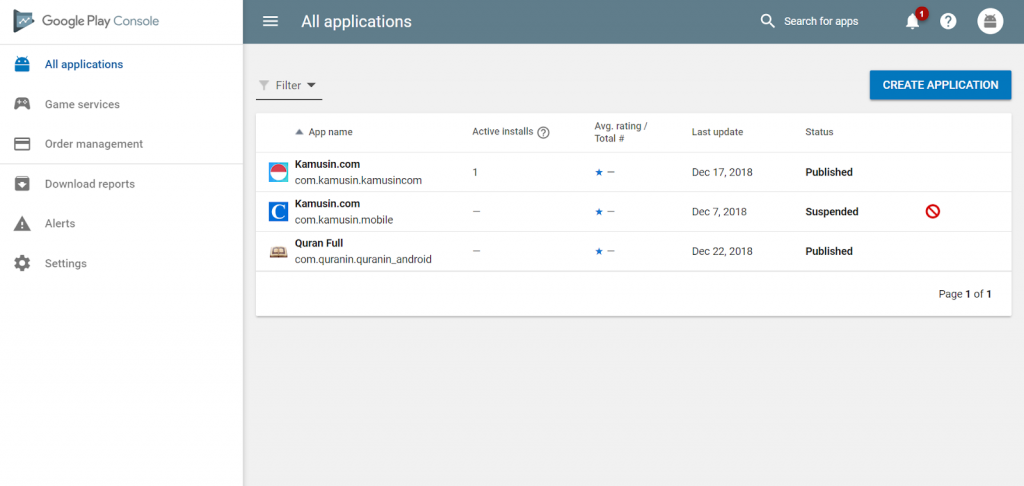
Once you log in with the developer or publisher account, follow these steps to publish your Android application to Google Play:
- Go to the menu and click on ‘All applications.’
- Here, find ‘Create Application’ and select it.
- In the drop-down menu, find and select the application’s default language.
- Add an application title (which will be changed later).
- Then, click on ‘Create.’
Be mindful of the language you choose. But you can be vague with the name, as you will get to change it later.
4. Listing the Application on the App Store

Now, it is time to list your application on Google Play Store. All your preparation up until now is necessary to ease this step.
In this step of how to upload app on play store, fill out all the required information and details with caution.
Fill in the details as asked. Also, use appropriate keywords in the app description to ensure that more interested people see your product when they search the play store online.
5. Time to Upload App Bundles or APK to the Google Play Store
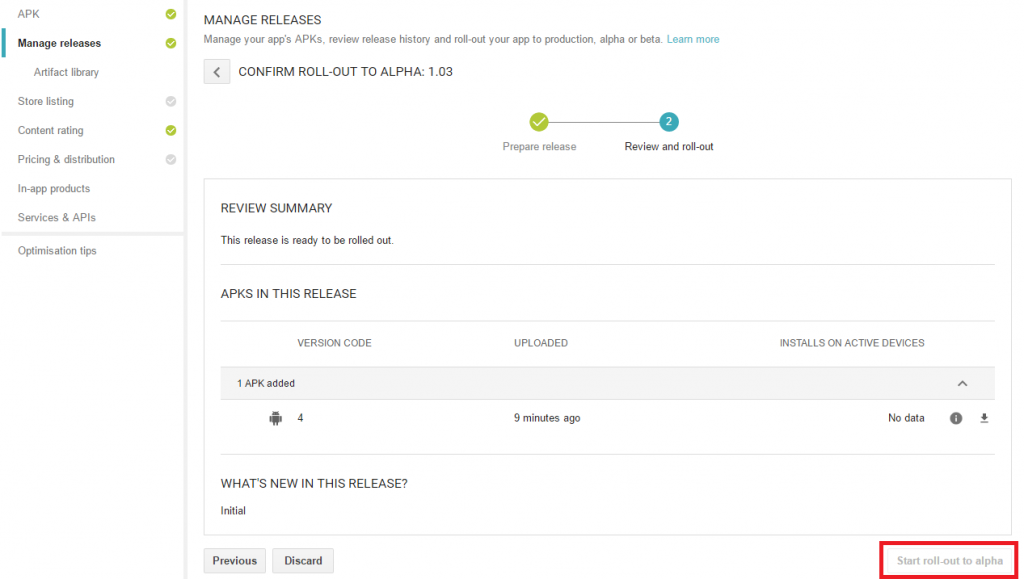
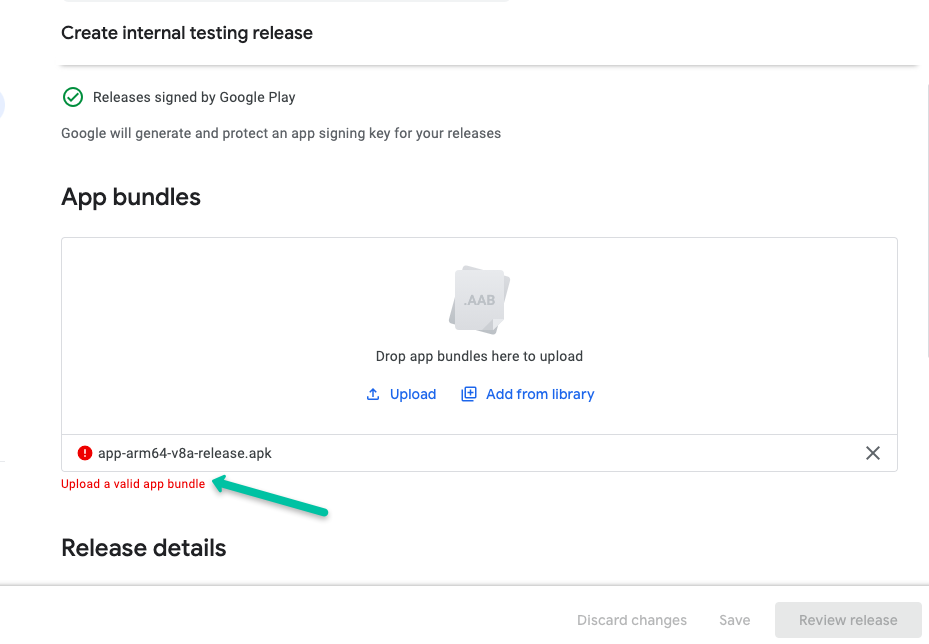
Finally, it is time to add your App bundle or APK and signed app release and upload them to your application. The android apps development company you hired will have already submitted the appropriate files for this step.
To do so, follow these steps:
- Find 'Release Management' and click on it.
- Click on the ‘App Release’ tab on the menu.
- Here, you will have four options – Internal Test, Close Test, Production Release, and An Open Test
- Select the type of release as per your needs.
- Then, click on ‘Create Release.’
After this, the page will get redirected from the New Release to the production page.
Here, you have a decision to make. Decide if you want to give the option of Google Play apps store signing on your application or not. If you do not wish to provide the choice, click on the ‘Opt-Out’ option.
Now, go to ‘Browse files’ and look at how to upload apk to Google Apps Store and name and describe your release as per the on-screen instructions.
Before you set anything in stone, click on the ‘Review’ option. Here, you will have the chance to look at all the information you have provided to the database. Once you are satisfied with the input, press ‘Save.’
6. Time for Content Rating
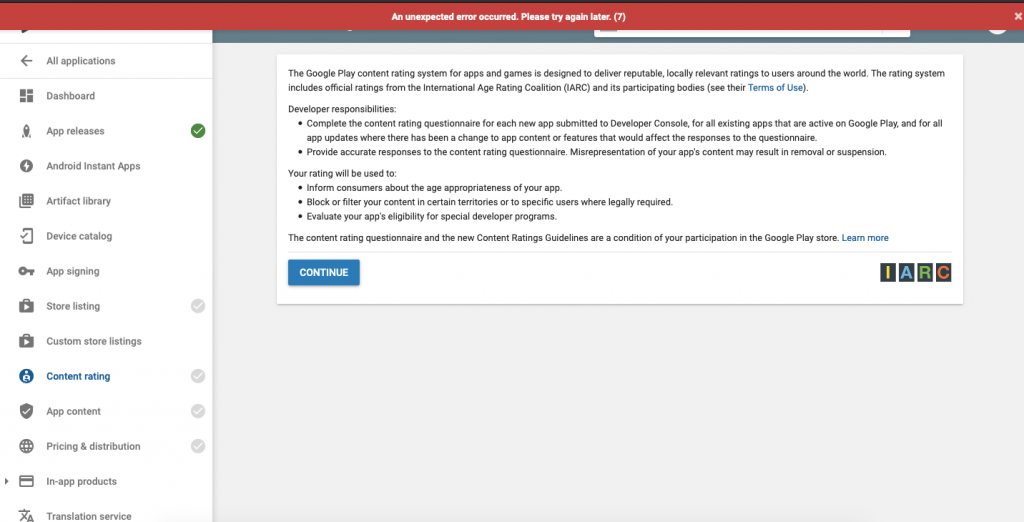
You are the first person who gets to rate your app. Once you publish Android apps on Play Store, do not leave it ‘Unrated’ as it might get removed from the store.
For Content Rating, please navigate to the menu on the left side of the screen and select it. Click on ‘Continue’ to move forward, add your email address in the allotted field, and press ‘Confirm.’
Now, it is time to fill in the questionnaire of your application rating. Once all the information is fed to the system, select ‘Save Questionnaire’ and then choose the ‘Calculate Rating’ option. It will now show you the app rating on Play Store. Now, you can click on ‘Apply’ as the last step to finalize your app’s content rating.
7. Set up Application Pricing and Distribution
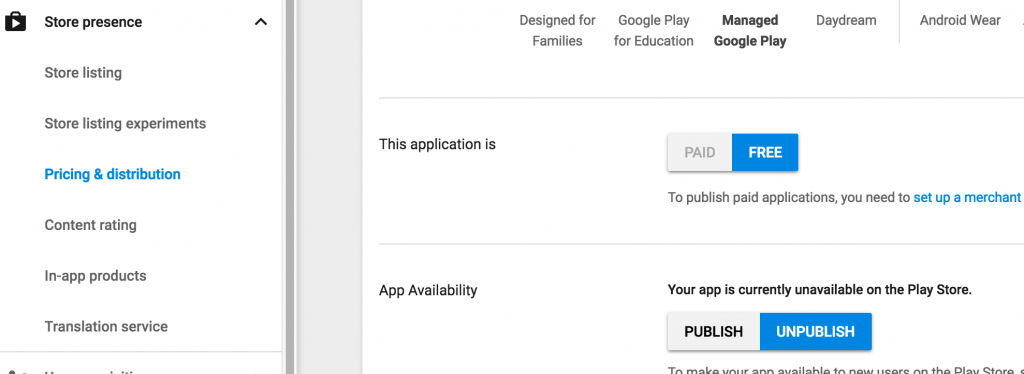
Google has put limitations on the regions where you can publish an application. So, mention the countries where your application will work.
Here, you must assign appropriate pricing for your application. One crucial piece of information to remember here is that Google does not allow free applications to turn into paid apps. However, you can change the pricing of paid applications as time progresses.
To set the pricing:
- Go to the menu and select the Pricing and Distribution tab.
- Choose whether the application is Paid or Free.
- Select the countries where your application will be available for downloads
- Here, you must also determine and provide information about whether the application is appropriate for children under 13 years. If it is suited for the age group, select ‘Yes’; otherwise, opt for ‘No.’
- Also, choose whether your application will have advertisements or not.
8. Ready to Publish the Application
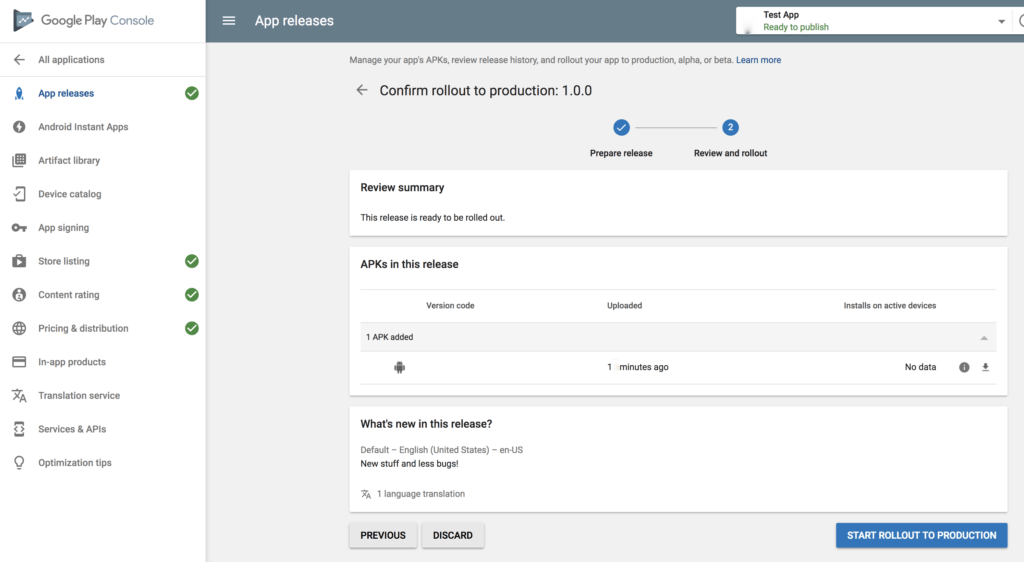
Here, you must take the time to ensure that every piece of information you have put is correct. Then, you are ready to move to the last step of the guide on how to upload android app to Play Store. It is time to publish the application, and here are the steps to follow:
- Go back to the ‘App Releases’ section
- Select ‘Manage Production
- Opt for ‘Edit Release’
- Click ‘Review’
- Select ‘Start rollout to production.’
- Bring the process to closure by choosing the ‘Confirm’ option
Your application is successfully uploaded to the Google Play Store .apk account.
While your part of the process is done, Google will still take some time to approve your application. It takes anywhere between hours or a few days. So, you will have to wait before the application is finally published.
Tips to Get Your App Featured on the Play Store
Once you have your application on Google Play Store, it is time to put in the work and get your application featured on the Google Play Store.
To get your application features, you can incorporate specific practices, like visual design services, localization, and the use of the latest technologies. If you can get your application featured on the Google Play Store apk, it will increase the number of viewers on your application several-fold, leading to more revenue.
Steps to Increase Your Application Visibility after Submission
Your work does not stop at publishing your application and adding relevant tags to it. Afterward, you need to promote your app to the people. Here are a few steps that you can take to promote apps on various platforms.
Use your social media: Your application will find it easier to land on people’s smartphones if you promote it on your social media. It is among the most effective and cost-efficient methods of spreading the word about your product. Moreover, it is excellent tool for getting customer feedback on your product.
Focus on Press Releases: Another method of getting the word out about your application is through relevant press releases. If you can, take your application to well-established publishers in the niche. It will help you target the right audience and get your application to get the relevant numbers faster.
Upkeeps of your application: No application is without flaws. Hence, you must take relevant feedback from the users and testers and make appropriate adjustments to ensure that the application runs smoothly. Regular updates and bug fixes are essential for an application. Otherwise, it will seize to get traction and ultimately have no downloads.
Invest in ASO: App Store Optimization includes a range of practices to get more impressions and conversions for your application. Much like search engine optimization, it also aims to get your product in front of the maximum number of relevant audiences for a higher conversion rate.
Final Words – Importance of Selecting the Finest Android App Development Company
Whether Google approves of your application or not will depend on the make of your product. Hence, the business must hire the best Android App development company for the job. So, if you want your first application to get quick approval and offer the best experience to the client, your first job is to create an amazing product that people will like.
The process of uploading the application to the Google Play Store does require thorough information about the product. It is a part of android app development services. Hence, many app development companies are willing to take the responsibility of uploading the application on your behalf. However, if you want to keep your information private, then you can opt to do the uploading work yourself.
Provide all the information that Google wants to publish in your application.
Tip to remember: You must recheck your work at every step. After giving each piece of information, re-read what you have written. It will provide you with some clarity and ensure that there are no faults in your submission.
Frequently Asked Questions
How can I upload my app on Play Store?
To upload your application to Play Store, you must first go to the play console and make an ID. Then you can upload the application by following the simple steps.
How much does it cost to put an app on the Play Store?
It is free to upload the application on Play Store. However, you must pay a one-time fee of $25 for a lifetime subscription to Play Console.
Can I upload app on Store for free?
If you already have a Play console subscription, uploading an application to Google Play Store is free. However, you must pay a one-time $25 fee if you do not have one. Afterward, you can upload as many applications as you like from the ID.
How can I publish my app for free?
If you are wondering how to publish an app to the app store for free, there is no need to worry. On Google Play Store, uploading an application for approval is free. However, Google will review the application before uploading it to the server. Moreover, you will need a Play Console paid ID, which will cost a one-time fee of $25.


